

matplotlibでアニメーションを作成するには
FuncAnimationArtistAnimation
の2つの方法があります。
それぞれの説明をmatplotlibのドキュメントから引用すると
FuncAnimation :
関数funcを繰り返し呼び出すことで、アニメーションを作成します。
https://matplotlib.org/stable/api/_as_gen/matplotlib.animation.FuncAnimation.html
ArtistAnimation :
Artistオブジェクトのセットを使用したアニメーションです。
https://matplotlib.org/stable/api/_as_gen/matplotlib.animation.ArtistAnimation.html
インスタンスを作成する前に、すべてのプロッティングが行われ、関連するアーティストが保存されている必要があります。
つまり大きな違いとしてはFuncAnimationは 関数funcを繰り返すことでアニメーションを作るがArtistAnimationは 事前に用意したデータからアニメーションを作るということです。
FuncAnimation
先ほども説明したように関数funcを繰り返すことでアニメーションを作ります。
funcの中にはコマ撮りの1コマを描画するようなイメージでグラフを描画するコードを書きましょう。
前の描画内容を消すなどの対策をしていないとグラフがどんどん重なっていくので注意してください。
import numpy as np
import matplotlib.pyplot as plt
from matplotlib.animation import FuncAnimation

fig = plt.figure()

# グラフのアスペクト比を同じにする
plt.axes().set_aspect('equal')

# 描画
def func(data):
    plt.cla()
    plt.xlim(-1.5, 1.5)
    plt.ylim(-1.5, 1.5)
    rad = 2*np.pi*data/frames
    plt.scatter(np.cos(rad), np.sin(rad))

frames=100
ani = FuncAnimation(fig, func, frames=range(frames), interval=100)
# 表示
plt.show()
# 保存
# ani.save('circle_ani.gif')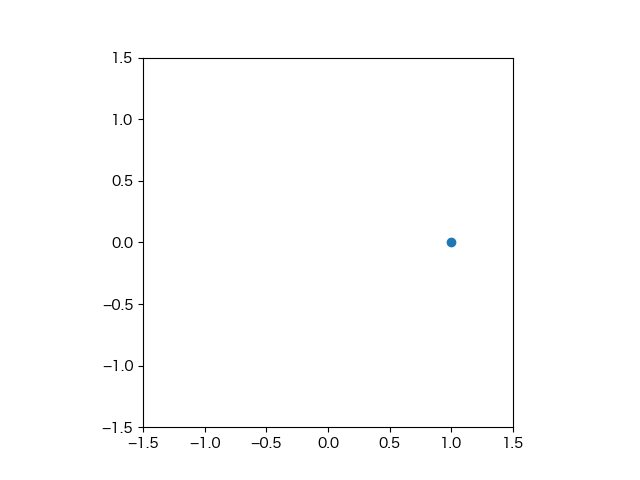

ArtistAnimation
先ほども説明したように事前に用意したデータからアニメーションを作ります。
データは一連のArtistオブジェクトを与えるのですが、まだ詳しく理解していない所なのでドキュメントからの引用と参考になりそうなサイトを載っけておきます。
Artist :
https://matplotlib.org/stable/api/artist_api.html#matplotlib.artist.Artist
FigureCanvasにレンダリングするオブジェクトの抽象ベースクラスです。
典型的には、図の中のすべての可視要素は、Artistのサブクラスです。

import numpy as np
import matplotlib.pyplot as plt
from matplotlib.animation import ArtistAnimation

fig = plt.figure()
# グラフの設定
plt.axes().set_aspect('equal')
plt.xlim(-1.5, 1.5)
plt.ylim(-1.5, 1.5)

# データの作成
frames = []
num_frames = 100
for i in range(num_frames):
    rad = 2*np.pi*i/num_frames
    x = np.cos(rad)
    y = np.sin(rad)
    frame = plt.scatter(x, y, color='blue')
    frames.append([frame])

# 描画
ani = ArtistAnimation(fig, frames, interval=100)
# 表示
plt.show()
# 保存
# ani.save('circle_ani.gif')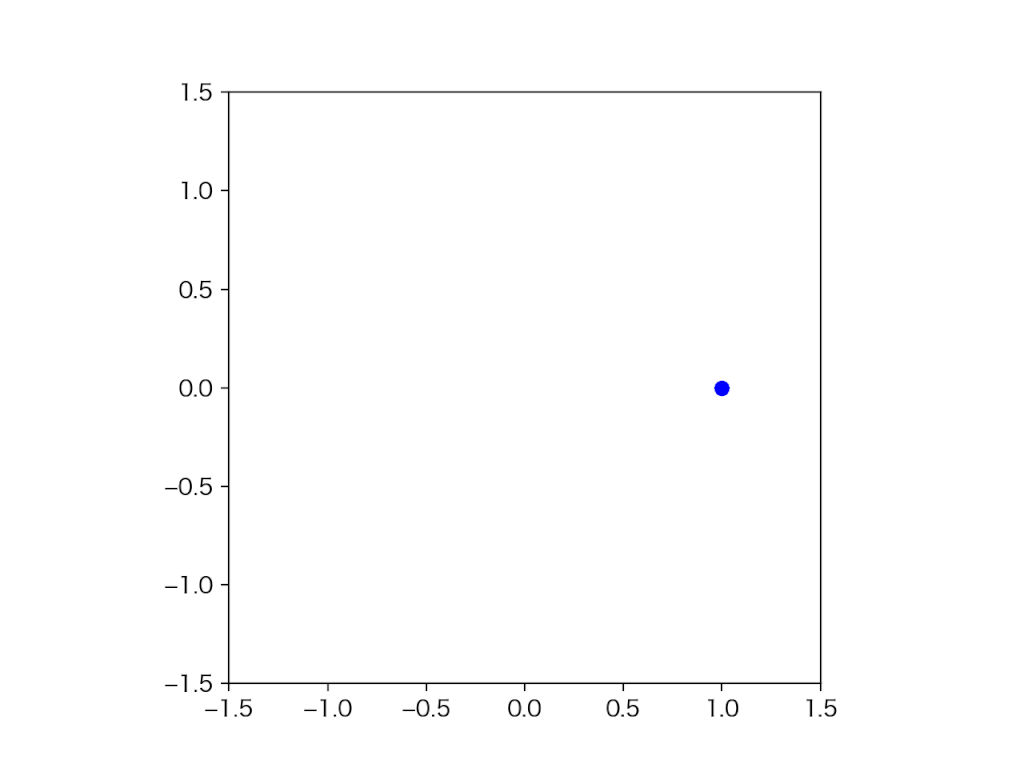

save() と gif, mp4
作成したアニメーションは
animation.save(ファイル名)で保存できます。
この時にファイル名で拡張子を .gif にしてやればGIFになりますし .mp4 にしてやれば MP4になります。
Jupyter Notebookでアニメーションを動かすには
Jupyter Notebookでアニメーションを動かすにはちょっとした工夫が必要です。
手っ取り早く表示させたい方はセルの先頭に
%matplotlib notebookを書けばOKです。
一通りのコードをまとめると
%matplotlib notebook

import numpy as np
import matplotlib.pyplot as plt
from matplotlib.animation import FuncAnimation

fig = plt.figure()

# グラフのアスペクト比を同じにする
plt.axes().set_aspect('equal')

# 描画
def func(data):
    plt.cla()
    plt.xlim(-1.5, 1.5)
    plt.ylim(-1.5, 1.5)
    rad = 2*np.pi*data/frames
    plt.scatter(np.cos(rad), np.sin(rad))

frames=100
ani = FuncAnimation(fig, func, frames=range(frames), interval=100)
# 表示
plt.show()
# 保存
# ani.save('circle_ani.gif')
他にもJupyter Notebookでアニメーションを表示させる方法がいくつかあります。
詳しくは以下の記事をご覧ください。

コメント