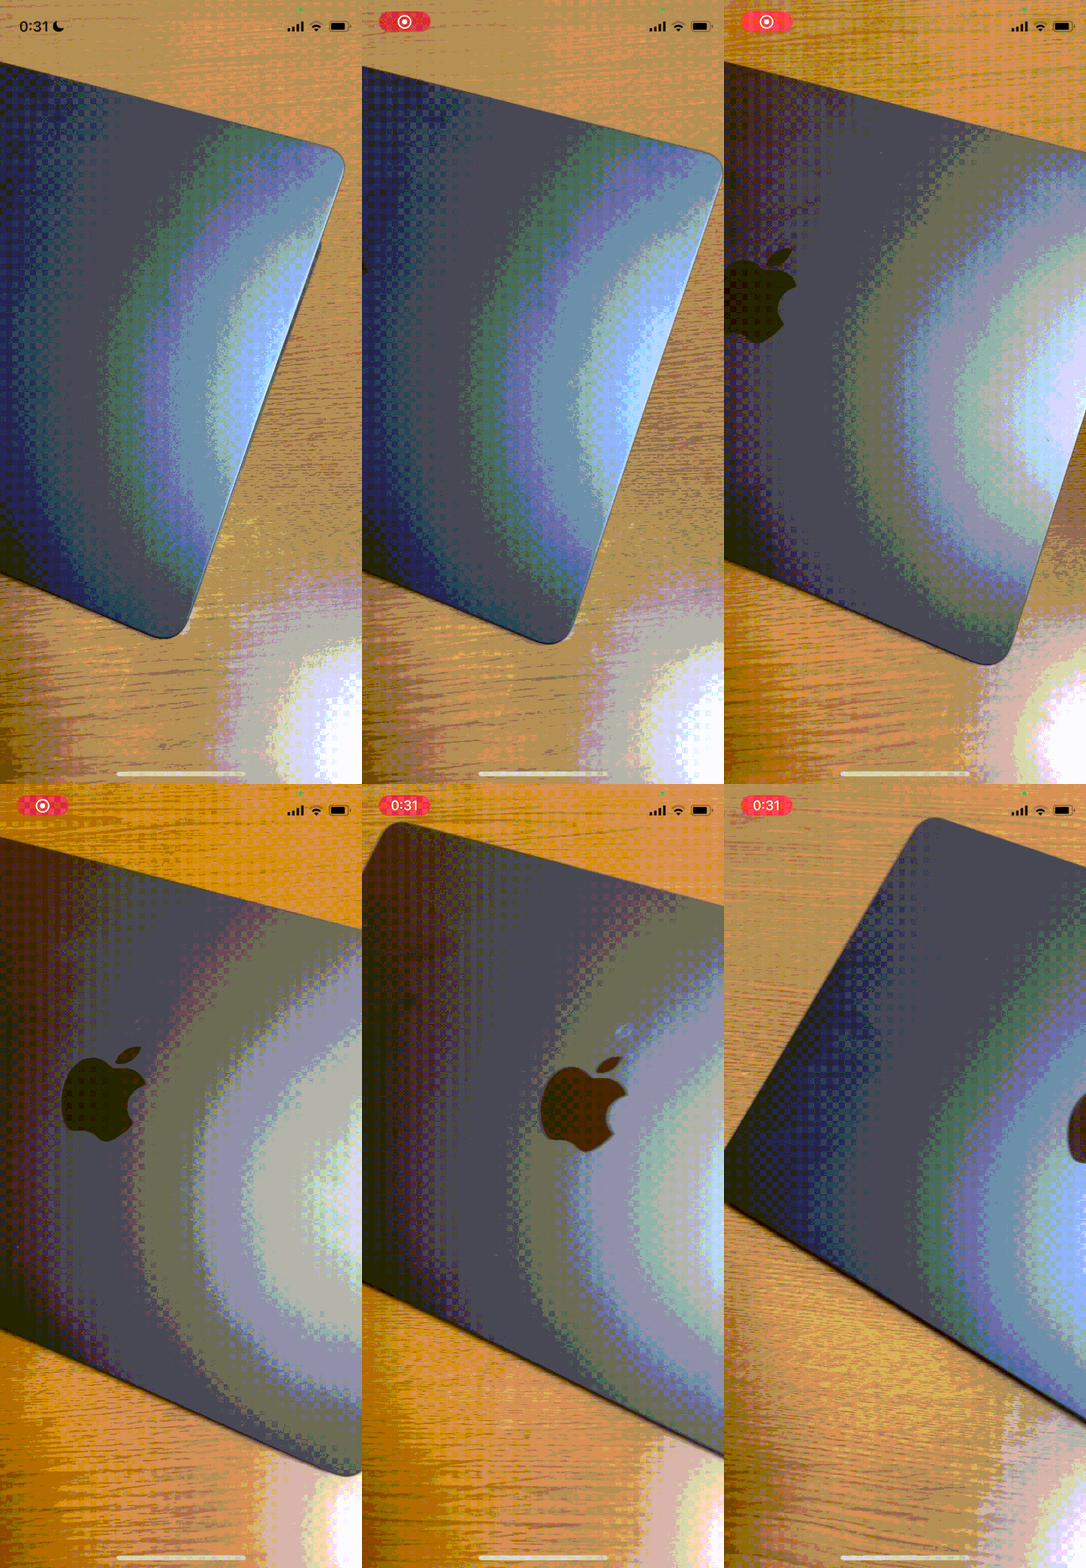
React Nativeでカメラを使う方法の一つとして、Expo SDKのCameraがあります。
ドキュメントはこちらです。

ドキュメントの方にもコード例がありますので、そちらも参照してみると良いかもしれません
準備
# プロジェクトの作成
npx create-expo-app camera-demo
cd camera-demo
# カメラを使用するためのパッケージをインストール
npx expo install expo-cameraカメラを使ってみる
まずはカメラを写してみる
カメラを写すには権限が必要です。
権限は Camera.useCameraPermissions というフックを使用することで扱うことができます。
Camera.useCameraPermissions() では下のように現在の権限状況を表すオブジェクトと、権限を要求する関数が返ってきます。
const [ permission, requestPermission ] = Camera.useCameraPermissions();
権限について
権限には4つのプロパティがあります。
- canAskAgain : 権限を要求できるか(出来ない場合は設定アプリから権限を設定する必要がある)
- granted : 許可されたか
- expires
- status
今回は上2つを使います。

カメラを写すためのタグ
カメラを写すには <Camera> を使います。
ただ、カメラを使う権限が無いと何も映らないので、気をつけましょう。

実際のコード
下のコードで実際にカメラを写してみます。
(コードが長いのは権限によって表示する内容を場合分けしているだけで、やってることは単純です)
import { Linking, Text, StyleSheet, View } from 'react-native';
import { Camera } from 'expo-camera';

export default function App() {
  const [ permission, requestPermission ] = Camera.useCameraPermissions();

  // permissionがnull もしくは 権限がないが、もう一度権限を要求できる時は権限を要求する
  if(permission===null || (permission.canAskAgain && !permission.granted)){
    requestPermission();
    return (
      <View style={styles.container}>
        <Text>カメラの権限を要求中</Text>
      </View>
    )
  }
  // 権限がなく、再度権限を要求できない時は設定画面を開く
  else if(!permission.canAskAgain && !permission.granted ){
    return (
      <View style={styles.container}>
        <Text>カメラを使用するには、カメラの使用を許可する必要があります</Text>
        <Button
          onPress={Linking.openSettings}
          title='設定を開く'
        />
      </View>
    )
  }
  // 権限がある時は、カメラを写す
  else if(permission.granted){
    return (
      <View style={styles.container}>
        <Camera style={styles.camera}>
        </Camera>
      </View>
    );
  }
  // その他
  else{
    return (
      <View style={styles.container}>
        <Text>Error</Text>
      </View>
    )
  }
}

const styles = StyleSheet.create({
  container: {
    flex: 1,
    justifyContent: 'center',
  },
  camera: {
    flex: 1
  }
});

写真を撮って保存してみる
工事中
便利機能
背面カメラ、前面カメラを切り替える
<Camera>のpropsに type を与えると背面、前面どちらを使うか決めることができます。
(デフォルトは背面です)
カメラのタイプとしては Camera.back , Camera.front があります。
それぞれ背面カメラ, 前面カメラを表します

カメラを切り替えるコードを書いてみます。
カメラを移すだけのコードと違う箇所をハイライトしてあります。
ちなみにドキュメントにもカメラを切り替えるコードがあるので、そちらも参考にしてみてください。
import { useState } from 'react';
import { Linking, Text, StyleSheet, View, Button } from 'react-native';
import { Camera, CameraType } from 'expo-camera';

export default function App() {
  const [ permission, requestPermission ] = Camera.useCameraPermissions();
  const [ type, setType]  = useState(CameraType.back);
       ・
       ・
       ・
  // 権限がある時は、カメラを写す
  else if(permission.granted){
    return (
      <View style={styles.container}>
        <Camera style={styles.camera} type={type}>
          <Button
            onPress={()=>{
              setType(type===CameraType.back ? CameraType.front : CameraType.back)
            }}
            title='反転'
          />
        </Camera>
      </View>
    );
  }
       ・
       ・
       ・
const styles = StyleSheet.create({
  container: {
    flex: 1,
    justifyContent: 'center',
  },
  camera: {
    flex: 1,
    justifyContent: 'flex-end',
    alignItems: 'center',
    paddingBottom: 50
  }
});

フラッシュ(ライト)を使う
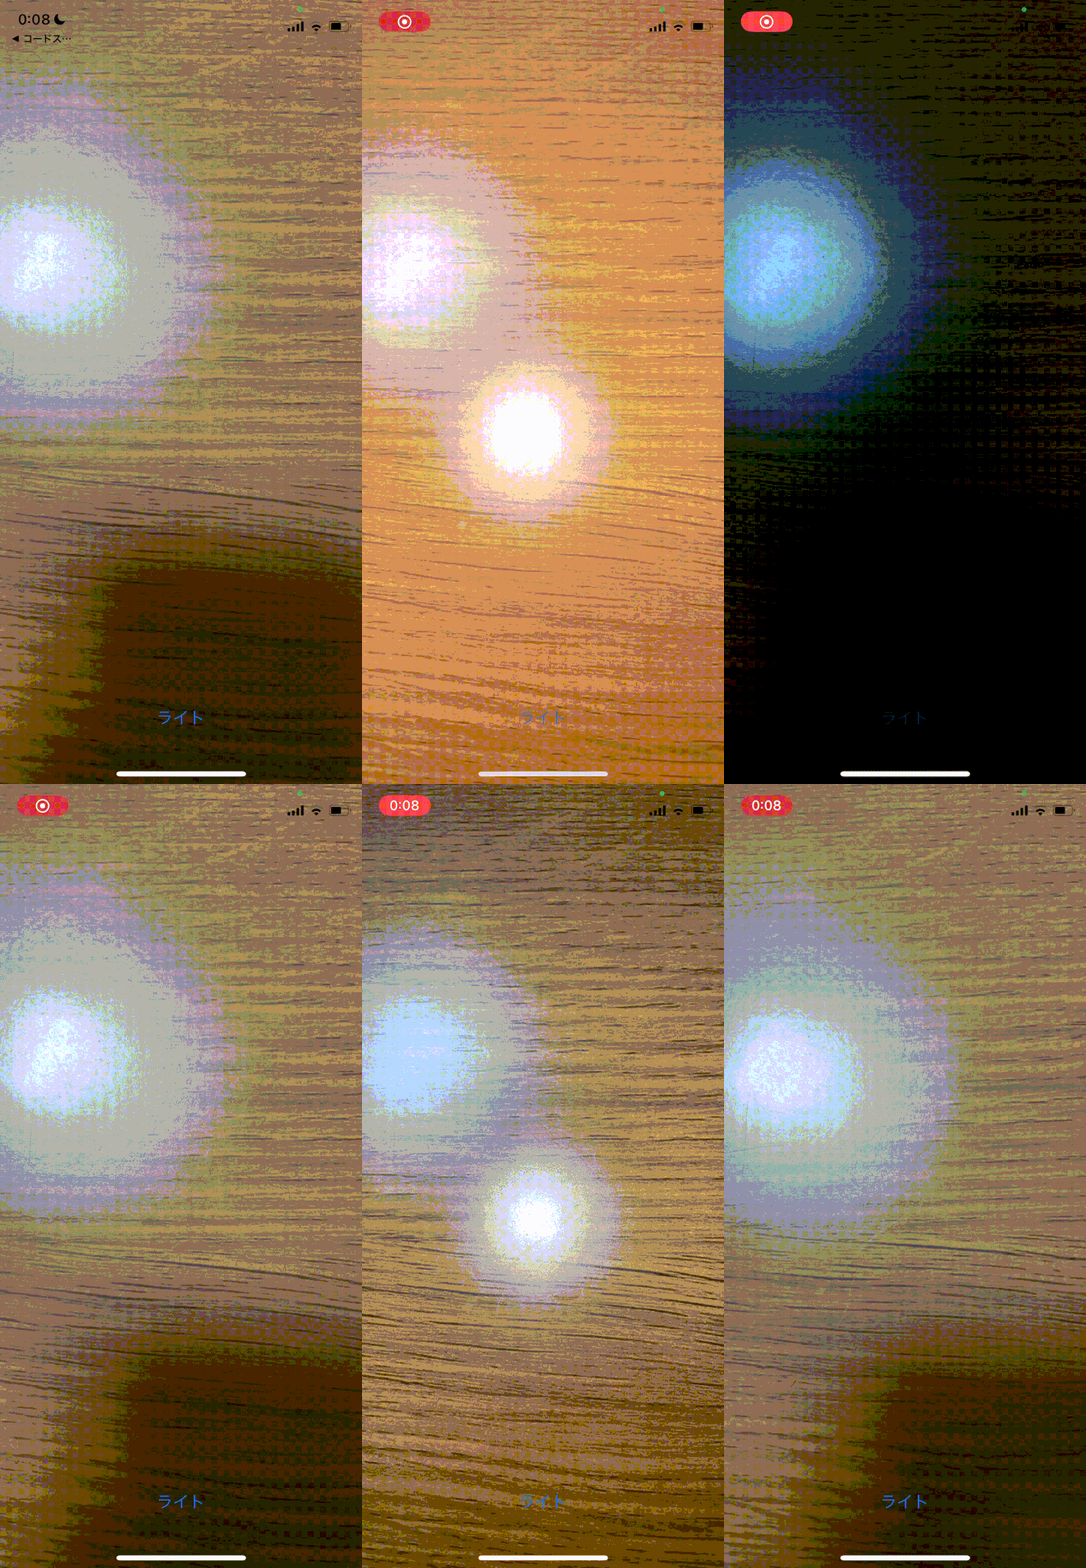
<Camera>にpropsとしてflashModeを与えることで、フラッシュを制御できます。
フラッシュの種類には4つあります。
- auto
- on
- off
- torch
です。
今回はわかりやすいように FlashMode.torch を使ってみます。

カメラを移すだけのコードと違う箇所をハイライトしてあります。
import { useState } from 'react';
import { Linking, Text, StyleSheet, View, Button } from 'react-native';
import { Camera, FlashMode } from 'expo-camera';

export default function App() {
  const [ permission, requestPermission ] = Camera.useCameraPermissions();
  const [ flash, setFlash ] = useState(FlashMode.off);
       ・
       ・
       ・
  // 権限がある時は、カメラを写す
  else if(permission.granted){
    return (
      <View style={styles.container}>
        <Camera style={styles.camera} flashMode={flash}>
          <Button
            onPress={()=>{
              setFlash(flash===FlashMode.torch ? FlashMode.off : FlashMode.torch)
            }}
            title='ライト'
          />
        </Camera>
      </View>
    );
  }
       ・
       ・
       ・
const styles = StyleSheet.create({
  container: {
    flex: 1,
    justifyContent: 'center',
  },
  camera: {
    flex: 1,
    justifyContent: 'flex-end',
    alignItems: 'center',
    paddingBottom: 50
  }
});


コメント